
Views: 12 Author: Site Editor Publish Time: 2026-05-26 Origin: Site


A leaking car lift cylinder immediately compromises shop safety. It halts revenue-generating bays and introduces severe environmental compliance risks. Diagnosing a leak requires careful evaluation. You must distinguish between a simple fitting failure and catastrophic internal seal degradation. Technicians often call this internal failure cylinder bypass. Fluid pooling at the base of your lift is an obvious sign. However, internal bypass often presents silently. You might only notice a slowly drifting or uneven lift carriage under load.
This guide provides shop owners and maintenance managers with a definitive, step-by-step rebuild framework. We will help you determine if an in-house rebuild is viable or if specialized repair is required. You will learn the industry-standard 10-second diagnostic test. We also outline strict safety protocols and precise teardown parameters. Following these steps helps prevent recurring failures and keeps your equipment operational.
Diagnosis Precedes Teardown: Utilize a 10-second maximum pressure test to isolate actual cylinder leaks from breather, hose, or valve failures.
Safety First (LOTO): Never breach a hydraulic system without fully resting the lift on mechanical locks and executing strict Lockout/Tagout procedures.
Zero-Tolerance for Scratches: A single screwdriver scratch on the aluminum cylinder bore during seal removal will destroy new seals upon installation.
Measure the Metal, Not the Rubber: Always order seal kits based on the precise dimensions of the metal gland grooves, as old seals deform under high pressure.
Orientation is Critical: V-groove seals and wiper seals must be installed with strict directional polarity relative to the high-pressure side of the system.
Blindly ordering a Car Lift Cylinder replacement without confirming the exact leak source wastes capital. It also unnecessarily extends shop downtime. Many mechanics assume the main cylinder has failed when the actual issue is minor. You must eliminate all external false positives before tearing down heavy equipment.
Inspect all external components first. Wipe the entire area clean using degreaser and clean rags. You need a completely dry surface to spot micro-leaks. Rule out manual bleed valves and hydraulic fittings. Check the breather ports and ensure all hose connections remain tight. Once you verify external components are dry, proceed to the diagnostic test.
The 10-second test protocol is an industry-standard diagnostic tool. It isolates internal failures rapidly:
Raise the unloaded lift carriage to its maximum height.
Hold the pressure up button for exactly 10 seconds.
Release the pressure button.
Visually inspect the cylinder gland and base for fresh fluid seepage.
If your lift slowly loses height under load but no external fluid appears, the internal piston seal has likely failed. Hydraulic fluid is slipping past the piston inside the closed barrel. This condition is known as internal cylinder bypass.
Repairing lifting equipment presents immense physical hazards. Ensure the lift carriage is completely lowered onto its mechanical safety locks. This action removes all physical load from the hydraulic system. You must never rely on hydraulic pressure alone to support a lift during maintenance.
Execute strict Lockout/Tagout (LOTO) procedures immediately. Disconnect the main power supply to the lift console. Lock the breaker box to prevent accidental pump activation. An unexpected pump surge during disassembly can cause severe injuries.
Next, handle depressurization and disconnection. Actuate the lowering valve to relieve any trapped line pressure safely. Disconnect the hydraulic lines carefully. Place a catch bucket underneath the fittings immediately to capture residual fluid.
Contamination prevention is your next priority. Immediately cap and plug all open hydraulic lines. Plug the cylinder ports to prevent shop dust and debris from entering the fluid pathway. Modern lift systems feature exceptionally tight tolerances. Introducing even microscopic shop debris during disconnection can score the cylinder walls during later operation.
Safety & Prep Checklist | Purpose |
|---|---|
Engage Mechanical Locks | Removes physical load from the fluid column. |
Execute LOTO Protocol | Prevents accidental pump activation and fluid surges. |
Actuate Lowering Valve | Bleeds off trapped residual line pressure safely. |
Install Caps and Plugs | Stops microscopic debris from entering the hydraulic pathway. |
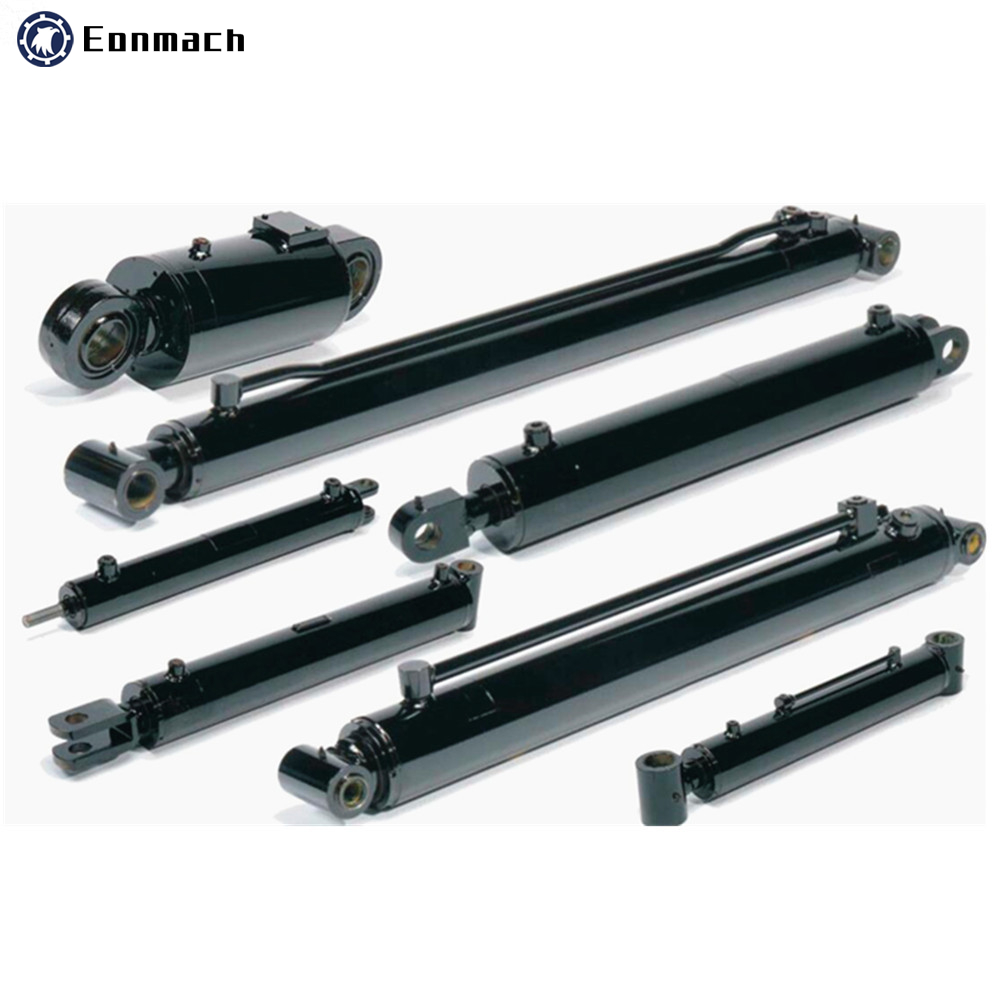
High-quality replacement car lift cylinder assembly prepared for safe installation.
Extracting the unit requires a clean, dedicated workbench. Remove the lock pins or snap rings using appropriate Allen wrenches or specialized impact tools. Enlist a second technician to help extract the heavy cylinder safely. Place it securely onto a sturdy bench equipped with soft-jaw vises.
Opening the housing depends entirely on the lift model. For some units, you must tap the head nut inward. This action exposes and releases the internal spring wire retaining ring. Other models use an external gland cap. You simply unthread this cap using a spanner wrench. Avoid using pipe wrenches, as their aggressive teeth will mangle the metal exterior.
Slide the piston rod out carefully. Keep a drain pan handy to catch trapped oil. Now you must make the critical "Go/No-Go" decision. Inspect the aluminum inner bore for deep vertical scratches. Shine a bright flashlight down the barrel. Any deep scoring means new seals will shred instantly.
Next, inspect the chrome piston rod. Look closely for pitting, rust, bending, or dents. If the rod or bore shows physical damage, simply replacing the seals will fail. The rod must be remanufactured, or the entire Hydraulic Cylinder must be replaced entirely.
Tip: When extracting seals from the gland, never use sharp metal tools like standard screwdrivers. Opt for brass picks or specialized plastic seal extractors. A single steel scratch will scar the housing and guarantee future leaks.
Precision measurement dictates a successful rebuild. Discard all old seals immediately. Use digital calipers to measure the inner diameter and width of the metal seating grooves. Always order your replacement kit based on these metal dimensions. Old rubber seals swell and deform under high pressure, making them unreliable reference points.
Flush the interior housing thoroughly using mineral spirits. Wipe down all surfaces using lint-free microfiber cloths. Ensure absolute cleanliness before reassembly. Any lingering grit acts like sandpaper against your new seals.
Seal installation polarity is critical. If you install them backward, the fluid will bypass immediately. Follow these orientation rules strictly:
Rod Seal / V-Seal: The V-shaped groove or lip must face the high-pressure side of the system. Fluid pressure forces these lips to expand and seal tightly against the rod.
Wiper / Dust Seal: The lip must face outward. Its primary job is to scrape shop contaminants off the rod as it retracts into the housing.
Pre-lubricate all new rubber components, wear rings, and seals. Use standard wheel bearing grease or the manufacturer-specified fluid, such as Dexron III ATF. Generous lubrication prevents destructive dry-start friction during initial testing.
When reconnecting hydraulic fittings, apply Teflon tape strictly in a clockwise direction. If you wrap it counter-clockwise, the tape will unravel during installation. Alternatively, use an approved liquid hydraulic thread sealant.
Note: Pay close attention to multi-piece piston seals. These often feature an expander ring beneath an outer colored seal. They require gentle, even stretching. You must install them without twisting or rolling the material.
Replacing a compromised seal seems straightforward on paper. However, the DIY risk factor is exceptionally high. Improperly oriented seals guarantee immediate leakage upon re-pressurization. Micro-abrasions caused by improper extraction tools will slice your new kit instantly.
Identifying the correct rebuild kit presents another major hurdle. Matching parts can be complex. Lift model numbers often fall short. You must usually locate the manufacturer stamp stamped directly on the housing. Deciphering marks like "Pacoma" versus "Texas Hydraulics" dictates which internal kit you actually need. Ordering the wrong kit causes severe project delays.
You must weigh cost against reliability. Attempting an in-house rebuild without specialized vise stands and seal tools often results in secondary failures. A botched job pulls your technicians away from profitable customer vehicles.
Apply clear shortlisting logic. If your rod is pitted, outsource the job. If the lift experiences heavy commercial use, buy an OEM replacement. If your technicians lack specific hydraulic experience, consult a professional rebuilder. Professional solutions provide the highest return on investment and minimize your shop liability.
Factor | In-House DIY Repair | Professional Repair / OEM Replacement |
|---|---|---|
Tool Requirements | Requires brass picks, spanner wrenches, and soft-jaw vises. | Zero specialized tools required in your shop. |
Labor Allocation | Consumes hours of revenue-generating technician time. | Technicians stay focused on customer vehicles. |
Risk Level | High. Prone to micro-abrasions and incorrect seal polarity. | Low. Covered by professional warranties and OEM guarantees. |
Execute Precise Diagnostics: Always use the 10-second pressure test to verify the leak location before tearing down the unit.
Enforce Strict Safety: Follow LOTO protocols and engage mechanical safety locks before touching any hydraulic line.
Maintain Surgical Cleanliness: Flush all parts with mineral spirits and avoid using steel tools to extract old seals.
Test Thoroughly Before Use: Run the rebuilt system through several full up-and-down cycles without a vehicle load. This process allows the system to self-bleed trapped air safely.
Evaluate Capabilities: If you lack specialized brass picks or notice physical rod wear, source an OEM replacement kit immediately.
A: Costs vary heavily by lift type, such as 2-post versus 4-post models, and damage extent. A basic rubber seal kit alone is relatively inexpensive. However, if you require professional labor or extensive chrome rod remanufacturing, the final cost will increase significantly. Sometimes, replacing the entire unit is more economical.
A: This symptom indicates cylinder bypass. The internal piston seals have degraded or failed completely. Because the barrel is a closed loop, hydraulic fluid simply slips past the damaged piston internally. You lose lifting pressure, but no oil drops hit the shop floor.
A: No. Hardened steel tools like flathead screwdrivers will easily scratch the aluminum gland or internal bore. A single scratch acts like a knife, immediately slicing your new rubber seals upon installation. Always use dedicated brass or specialized plastic pick sets.